
Plan the edit before generating the clips. For a 15-second Reel, three shots can do three jobs: establish a place, draw attention to a detail, and leave time for the final message. Generate a clean still for each shot, animate one small action at a time, then add text and sound in the editor.
This original exercise depicts an imagined reading corner, not a real venue or recorded product test. The prompts have not been run in Dreamina or Artlist. Tool instructions were checked on 9 September 2026; model access and supported settings depend on the account.
Contents — jump to a section
Build the timeline on paper first
The scene contains a cream armchair, a blue cup on a small oak table and a fern beside a left-hand window. All shots use soft morning light from that window. Keeping those anchors fixed gives you something concrete to compare when the clips arrive.
| Final timeline | Shot and purpose | Intended movement | Text added in the edit |
|---|---|---|---|
| 0–4 seconds | Wide reading corner; establish the place | Curtain edge moves slightly | “Take a moment” |
| 4–10 seconds | Closer cup shot; hold the quiet detail | Thin steam rises | “Leave the rush outside” |
| 10–15 seconds | Chair and table; finish the thought | Gentle push toward the chair | “Make room for a reading break” |
These are editorial timings. Generate slightly longer clips so you can remove unstable beginnings or endings: aim for at least 5, 7 and 6 seconds respectively, or the next supported duration. Do not assume each model offers those exact lengths. The final edited ranges remain 4 + 6 + 5 = 15 seconds.
Make three stills that belong to the same room
In Dreamina's image workspace, select an available Seedream or other image model and enter one prompt at a time. Set a supported vertical aspect ratio in the controls. Its image workflow accepts prompts and reference images; when an editing/reference mode is available, use the approved wide frame to guide the closer views. Dreamina image creation
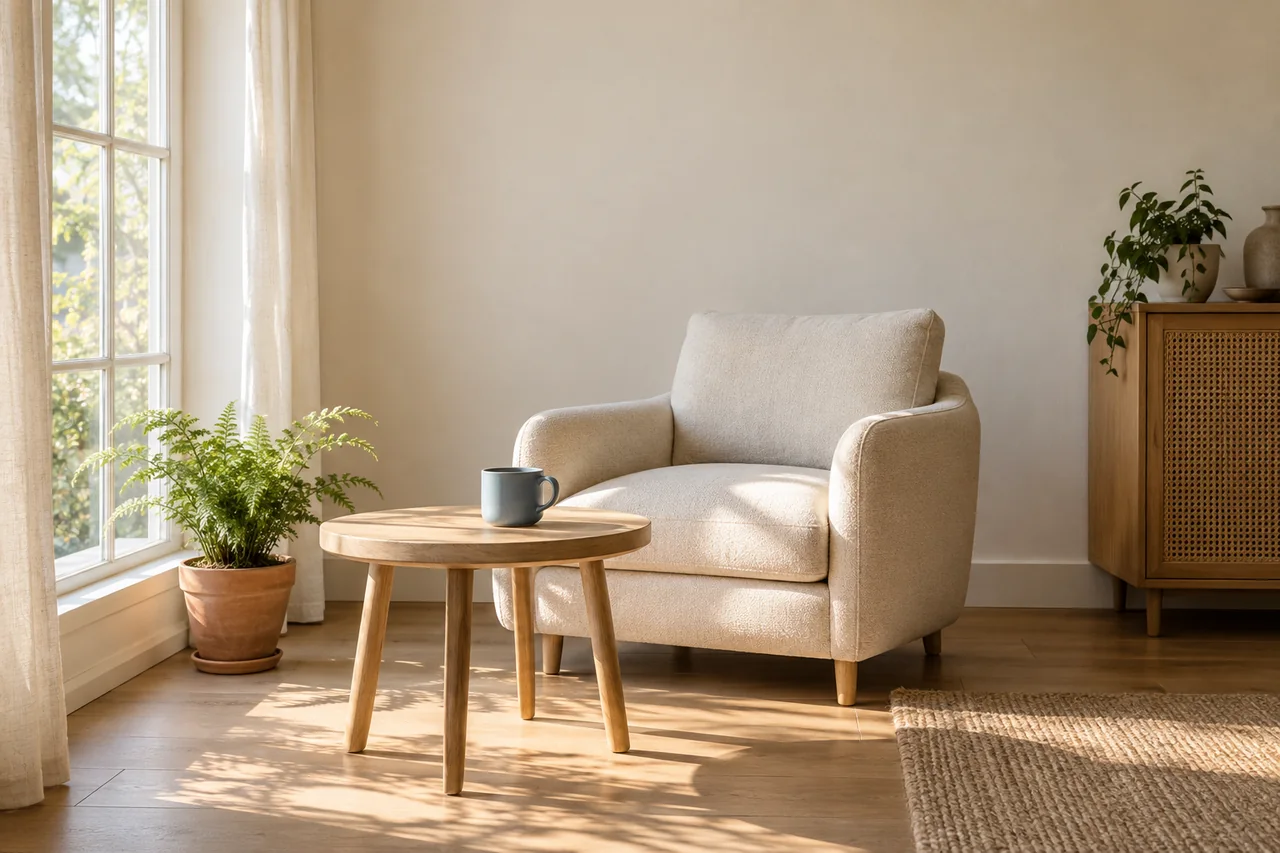
Still 1: the wide opening
A quiet reading corner beside a tall window on the left. One cream fabric armchair stands behind a small round oak table. A single blue ceramic cup with one handle rests on the table. A fern in a terracotta pot stands beside the window. A plain cream curtain hangs at the left edge. Soft morning daylight from the left, warm neutral room, realistic fabric and wood grain, eye-level wide shot with natural perspective. Vertical composition. Leave clear wall space in the upper middle for a short caption. The furniture is fully visible and the room is empty of people, with plain unmarked surfaces.Still 2: the cup detail
Supply the accepted first still as a visual reference if supported. Otherwise reproduce its visible anchors with this prompt and compare carefully.
A closer view of the blue ceramic cup on the small round oak table in a quiet reading corner. The cup has one rounded handle on the right, a clean rim and a thin trace of steam. Behind the cup, the cream fabric armchair is softly out of focus. The window remains on the left and casts the same soft morning light. Realistic glazed ceramic and oak grain, camera at cup height, front three-quarter view, moderate depth of field. Vertical composition with the complete cup visible and clear space above it. Keep the cup's blue color, table material and room palette consistent with the supplied reference when provided.Still 3: a frame that can hold the last line
Reuse the approved wide still as the reference for this image too, when supported. Keep the same model and vertical framing used for the first two images.
A medium view of the same quiet reading corner: cream fabric armchair behind a small round oak table, one blue ceramic cup on the table, fern in a terracotta pot beside the left window. Soft morning daylight enters from the left. Frame the chair and table together from eye level, with a plain cream wall visible in the upper middle. Realistic fabric, ceramic and wood, calm warm neutral palette, natural perspective. Vertical composition with generous clear space for a final caption and a small logo added later. Keep all furniture and props in the positions shown by the supplied reference when provided.Place the stills next to each other. Reject a different cup, a second table, reversed lighting or a fern that changes species. Check the handle and furniture legs at full size. Save them as shot 01, 02 and 03 only after they agree. Fixing continuity now avoids paying for three moving versions of incompatible rooms.
Animate each still as its own shot
Dreamina's documented AI Video flow lets you upload an image, enter a prompt, select the model and configure available output settings. Choose an image-to-video route with each still as its starting image. Seedance is a video model family; it is not the name of the editor. Dreamina image-to-video workflow
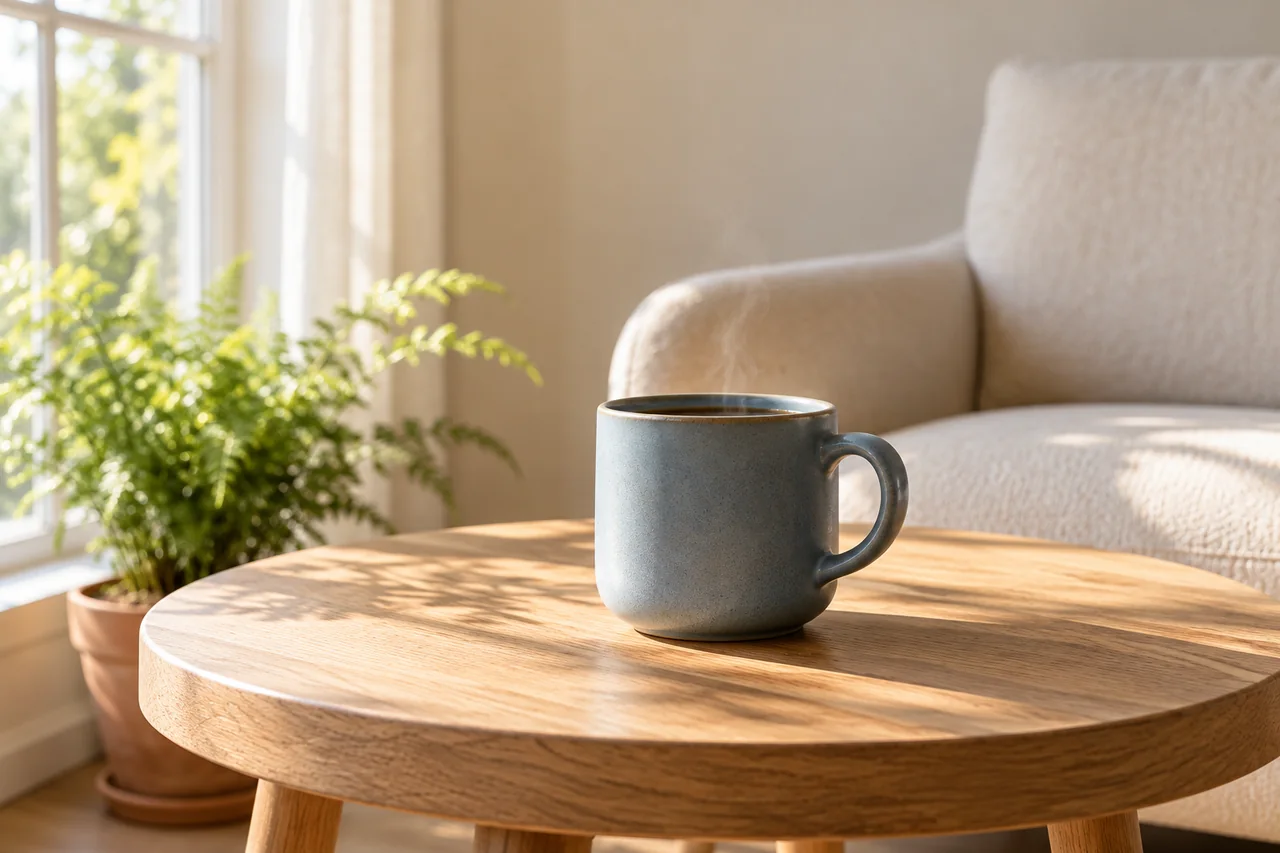
Use these motion prompts in three separate generations:
Start from shot 01, the uploaded wide reading-corner image. The camera stays fixed. Only the bottom edge of the cream curtain moves slightly toward the room and settles. The chair, table, blue cup and fern pot remain in place. Morning light from the left stays steady. Preserve the room layout and leave the upper-middle wall space clear. One continuous quiet shot.Start from shot 02, the uploaded cup-detail image. A thin strand of steam rises above the blue cup, curls gently and dissipates. The cup and oak table stay completely in place. The camera remains at its original angle and distance. Preserve the single handle, clean rim and cream armchair in the background. Lighting stays soft and steady from the left. One continuous detail shot.Start from shot 03, the uploaded chair-and-table image. The camera makes a small, slow push toward the cream armchair, ending with the blue cup, table and chair still comfortably inside the frame. All furniture remains stationary. Preserve the left-side morning light and clear upper-middle wall space for the final caption. One continuous shot that settles gently at the end.If you already use Artlist, its AI Toolkit dynamic prompt box switches between Image and Video and exposes different reference or start/end-frame inputs according to the selected model. Use the accepted still as a start frame when supported, then paste the corresponding motion prompt. Do not replace that role with a general style reference. Artlist dynamic prompt box
Keep one model and compatible settings across the first three trials. Add music in the edit; if generated clips include unwanted audio, mute that track there. If the final push makes the furniture bend, retry only shot 03 with this simpler prompt:
Use the uploaded chair-and-table image as the first frame. Hold the original composition with a fixed camera. The cream armchair, oak table, blue cup and fern pot remain stationary. Only one small fern tip moves gently and settles. Keep the soft morning light unchanged and the upper-middle wall clear for a caption. One quiet continuous ending shot.Cut the clips before decorating them
Open a new CapCut project, import the three downloaded originals and place them in shot order on the main track. Set the project canvas to 9:16. CapCut documents importing, splitting and cropping clips as well as audio volume/fade and export controls. This workflow uses those editing operations; it does not require a particular AI model inside CapCut. CapCut editing guide
Scrub each clip and mark a clean usable range. Split away any warped opening or unstable tail, then trim the remaining ranges to four, six and five seconds. Close gaps between clips. Start with direct cuts: the change from wide frame to cup detail already gives the viewer a clear shift in attention.
If the first cut jumps in color, correct exposure and white balance gently while comparing the adjacent frames. A heavy filter can hide neither a different cup nor reversed light. If only one clip is much warmer, adjust that clip rather than applying an extreme look to all three.
Watch the complete 15 seconds without text. Each cut should feel intentional. If the cup shot holds attention for only four seconds, revise the timing before adding captions and redistribute the remaining two seconds to shots with usable footage. Keep the total exact.
Add sound, captions and the logo as separate layers
Use one continuous room-tone or music bed that you have permission to use. Keep it across both cuts so the scene feels connected; fade its ends and remove accidental overlapping generated tracks. Do not assume an AI subscription includes rights to every stock music file in its provider's catalog.
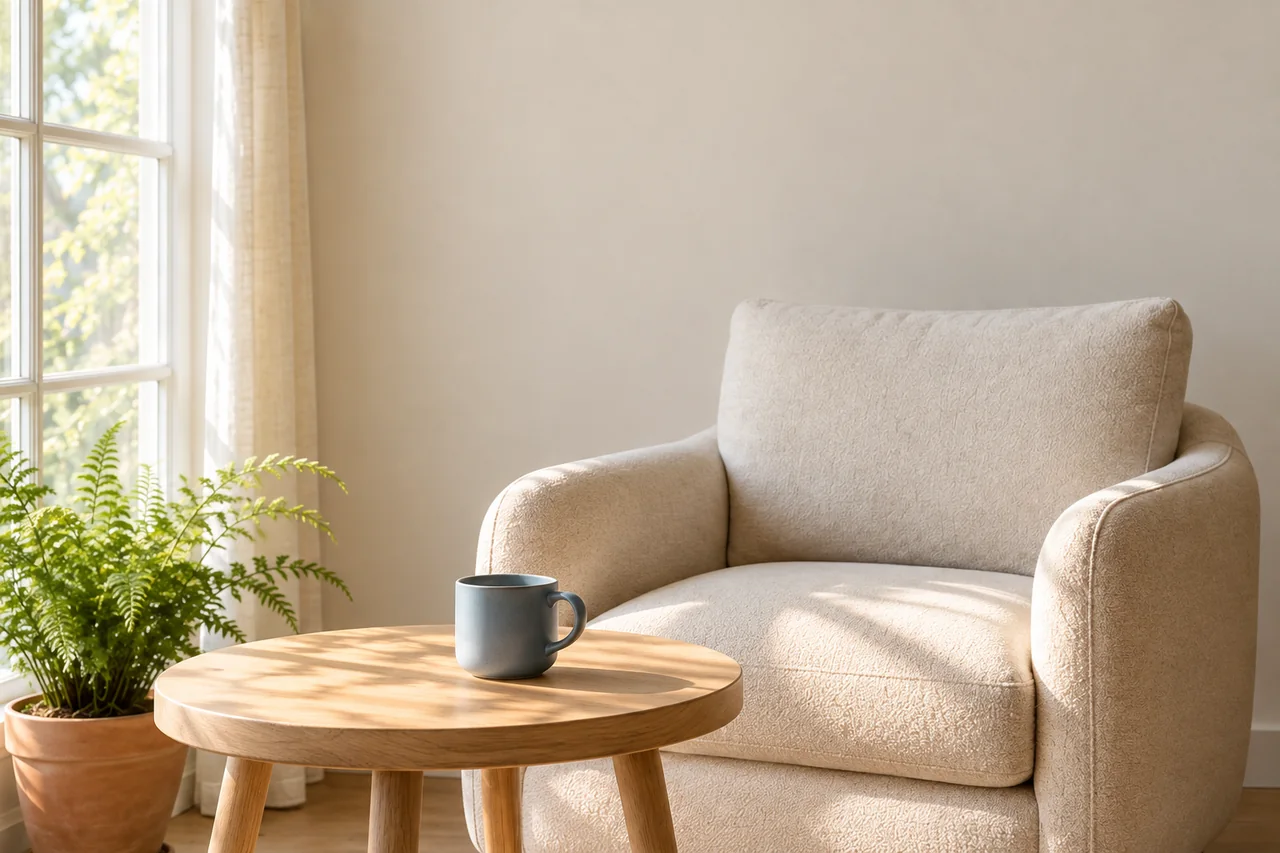
For the Thai version, write short native Thai lines in the editor instead of asking the video model to draw them. The three English lines in the timing table show their intended meaning. CapCut Web documents Captions → Manual captions and lets you edit timing, size, color and position. Desktop versions can also use ordinary text layers; labels and available caption options may differ. CapCut manual caption workflow
Keep each line visible long enough to read once at normal speed. Use a font that renders Thai marks clearly, review every vowel and tone mark, and preview at phone size. Place text in the planned clear area, away from platform overlays in the actual publishing preview. Add your own authorized logo as a separate overlay in the last shot; that keeps its spelling and shape out of the generation process.
Export a file you have actually checked
Export a 1080 × 1920 MP4 as the delivery target for this exercise, using a supported codec and a frame rate consistent with the source where practical. Export resolution does not turn lower-resolution source detail into native 1080p detail. Avoid enabling frame interpolation merely because a larger fps number is available.
Open the exported file outside the editor. Confirm it lasts 15 seconds, has no black gaps, shows complete captions and a correct logo, and sounds clean through headphones and a phone speaker. Check that no paid effect blocks the intended export before committing to the final layout.
Should I generate all 15 seconds in one prompt?
Separate shots make it possible to replace one failed section without discarding everything. A single generation can be an option, but it is not required for a coherent edit.
Do I need a transition between every clip?
No. Use direct cuts first. Add a transition only when it helps the intended shift in time or scene, and check that it does not shorten the final timing or blend a defective frame into view.
Can captions repair an unclear scene?
They can provide meaning, but they cannot make three incompatible rooms continuous. Resolve the stills and cut first. Use the morphing and flicker repair guide when one shot keeps failing, or set a retry limit with the AI video budget plan.
Sources
Official documentation checked September 9, 2026. This proposed exercise has not undergone account or generation testing in Dreamina or Artlist, or an actual video export.