
To keep a character recognizable, approve one reference image, use it to create every scene still, and animate only the stills that match. Repeating a written description alone leaves too much room for a different face, haircut or jacket. This exercise follows one fictional ceramicist through three quiet shots in her workshop. The goal is a 12-second sequence you can cut together without the character apparently changing between shots.
Use OpenArt for the character reference and scene images, then Krea for image-to-video. OpenArt documents reusable characters made from text or image references; this is a useful starting mechanism, not a guarantee of identical results. The prompts below are original proposed exercises, not outputs from an OpenArt or Krea hands-on test. Product documentation was checked on September 9, 2026. OpenArt character creation
Contents — jump to a section
Decide what must remain the same
Give the character a short continuity card before generating anything: adult woman, short black bob tucked behind both ears, round black glasses, indigo work jacket with two square chest pockets, cream T-shirt, brown canvas waist apron. Keep those six anchors. Tie the apron at the waist so both chest pockets remain visible. Skip tiny jewelry and intricate embroidered patterns; they create details you will have to inspect in every frame.
The workshop has a window on camera-left, a pale wooden bench and a blue bowl at its right end. All three shots take place within the same minute. The light therefore stays on the same side, and the bowl does not change position. Save a reference folder with the chosen master, the continuity card and three approved stills. Name files master, shot-01, shot-02 and shot-03 so the right image reaches the right generation.
1. Build a readable character reference
In OpenArt's character workflow, start from text and use an available image model such as Nano Banana Pro, which the official character page lists. Account access is separate from that public listing, so inspect the model options and generation cost before starting. OpenArt character creation
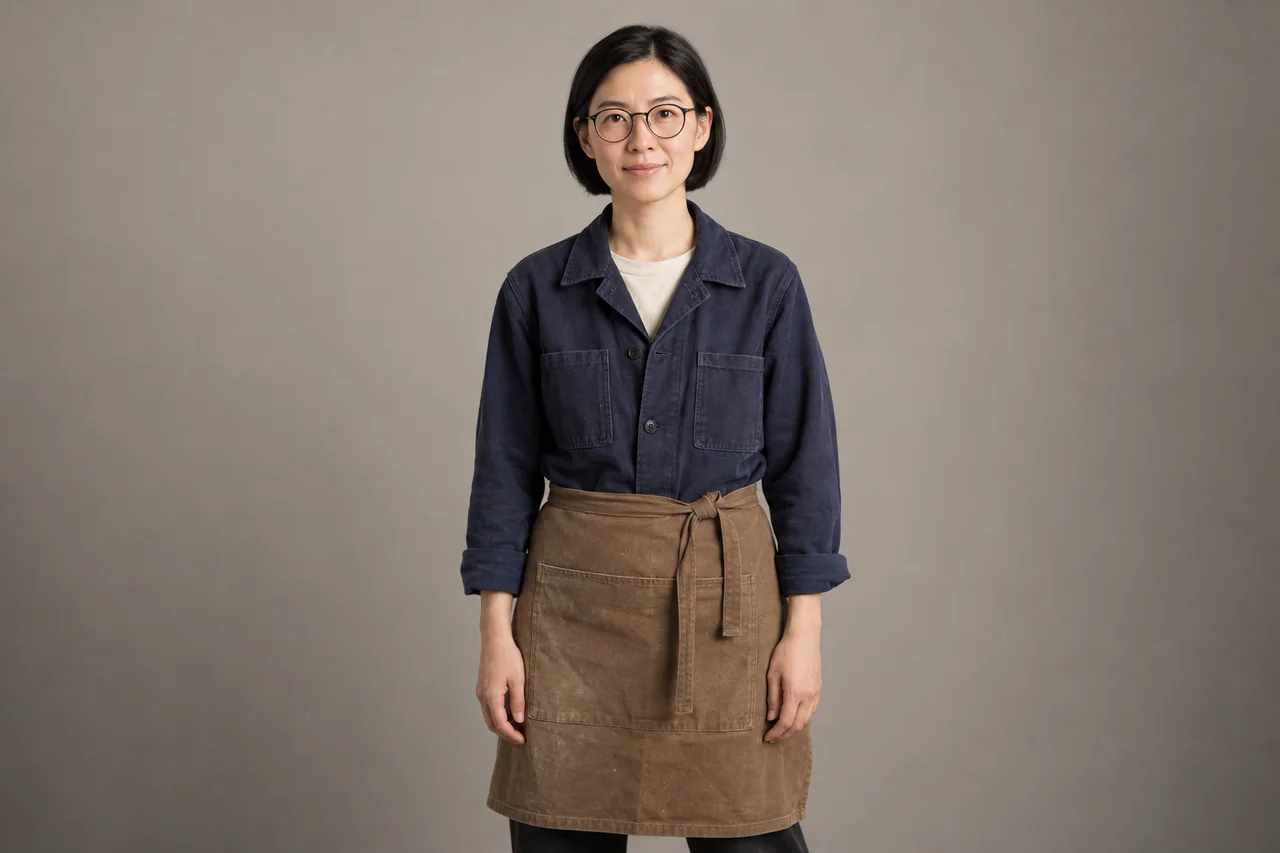
Input: no reference image for this first generation. Settings: choose a portrait canvas if available; frame the character from head to below the apron. This is a reference asset, so it need not match the final landscape video yet.
Create an original fictional adult ceramicist, shown from the top of her head to below her apron. She has a short straight black bob tucked behind both ears and round black glasses. She wears an indigo work jacket with two square chest pockets, a cream crew-neck T-shirt and a plain brown canvas waist apron tied below the chest pockets. She faces the camera with a relaxed neutral expression and both arms resting naturally at her sides. Plain warm-grey studio background, broad soft frontal light, clear facial features, natural skin texture. Show one person in one photograph, with the full hairstyle and clothing clearly visible.Approve the face before creating alternate views. Check eye alignment behind the glasses, the hairline and both jacket pockets. If the reference has mismatched eyes, later clips start from that mismatch. Save the character for reuse through OpenArt's documented character workflow; do not create a new identity for each scene.
2. Make three stills with the same reference
Use the saved character or attach the approved master in the reference-capable image workflow. Keep the image model unchanged while establishing the sequence. The example below creates shot 1. Request a single image, not a panel containing all three scenes.
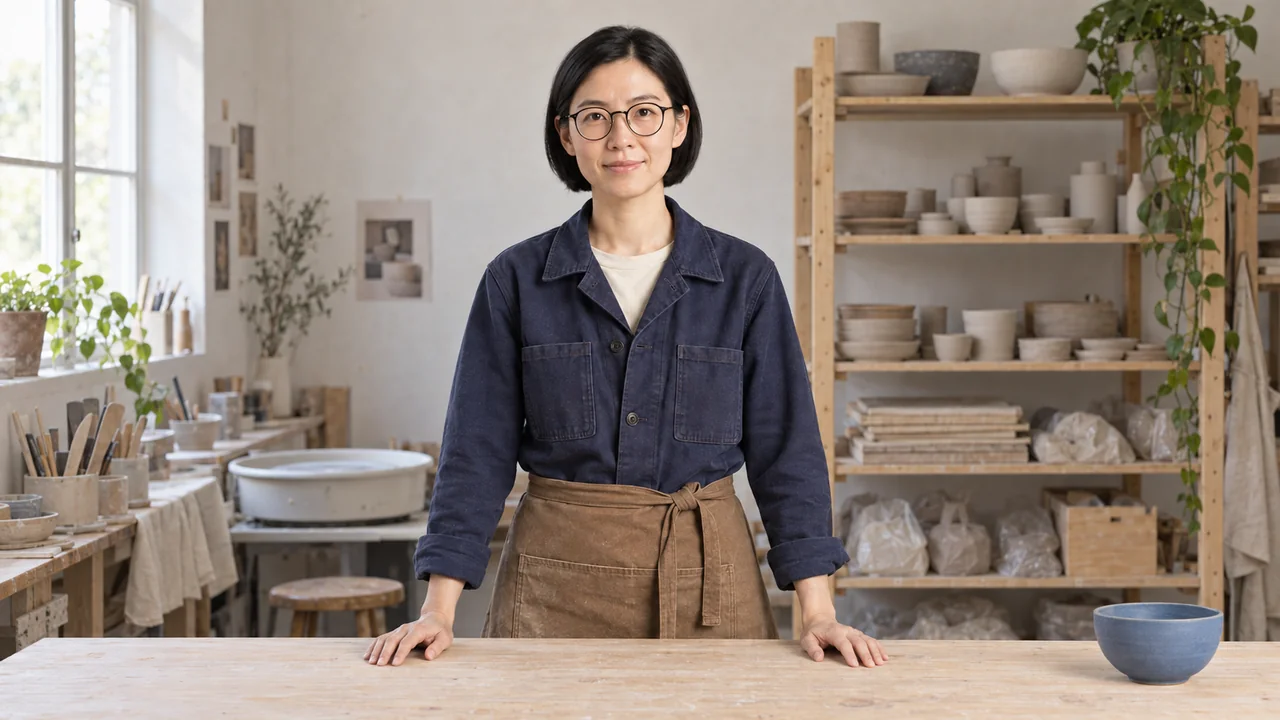
Input: approved character master. Settings: 16:9 where offered. If your current mode cannot set that ratio, compose with enough space to crop before animation.
Use the attached character reference for the same face, hairstyle, glasses and complete outfit. Create one medium-wide photograph of her standing behind a pale wooden workbench in a small ceramics workshop. A window outside the left edge of the frame lights her from camera-left. A single matte blue bowl rests at the right end of the bench. Her hands rest on the bench without touching the bowl. Camera at her chest height, straight-on view, calm natural colours, clear separation between her face and the background. Leave space above her head and show both jacket pockets.For shot 2, reuse the same character reference and the approved workshop image if the selected mode accepts both. Change only the framing to a medium view from the same side of the bench. For shot 3, make a close-up with her looking slightly toward camera-right. Do not ask for a profile turn yet: this exercise tests matching images before testing a difficult face rotation.
| Shot | Still to approve | Later movement | Visible anchors |
|---|---|---|---|
| 1 | Medium-wide at bench | One quiet breath | Hair, glasses, jacket, apron, bowl |
| 2 | Medium from the same side | Eyes move toward the bowl | Face, glasses, two pockets |
| 3 | Close-up, same light | A small closed-mouth smile | Face, hairline, glasses |
Compare all three stills side by side. A flattering face is not enough if it is a different person. When only the clothing is wrong, revise that still rather than rewriting the entire scene:
Use the approved character reference to correct only the clothing in this workshop image. Restore the indigo work jacket with exactly two square chest pockets, the cream crew-neck T-shirt and the plain brown canvas waist apron tied below the chest pockets. Preserve the current face, hairstyle, glasses, pose, camera position, background and light direction. Return one corrected still with the same composition.If OpenArt's character feature is unavailable on your account, Krea documents image uploads with written reference instructions for Nano Banana. Use the same master with that image model for each still, then judge the results yourself; a reference prompt does not become a saved OpenArt character when moved between products. Krea image references
3. Animate each approved still separately
Krea documents uploading a start image with Hailuo 2.3. Start with that model if accessible, a six-second generation and the same 16:9 canvas. The planned edit will use about four seconds per clip. Settings vary between models: retain these as production targets if the current selector offers different values. An available image-to-video option accepting a start image is the fallback; verify that input before spending credits. Krea video workflow
Upload shot 1 as its start image and paste this motion prompt:
The woman takes one quiet breath, with a slight natural rise and fall of her shoulders. Her hands stay resting on the workbench. The camera remains locked in place throughout the shot. Preserve the starting composition, her facial identity, glasses, hairstyle and clothing. The window light stays steady.For shot 2, replace only the first two sentences with “Her eyes move gently toward the bowl at camera-right while her head and hands remain still.” For shot 3, use “Her expression softens into a small closed-mouth smile while her head remains still.” Leave the locked-camera and preservation instructions. These prompts describe what changes; the input image already supplies the workshop and appearance.
Inspect the moving face, then cut
Check the start, middle and end of every clip, plus the moment an expression changes. Reject a take if the glasses merge with the eyebrows, a pocket disappears, the jaw narrows abruptly or the apron changes colour. A good starting frame cannot establish the quality of the full clip.
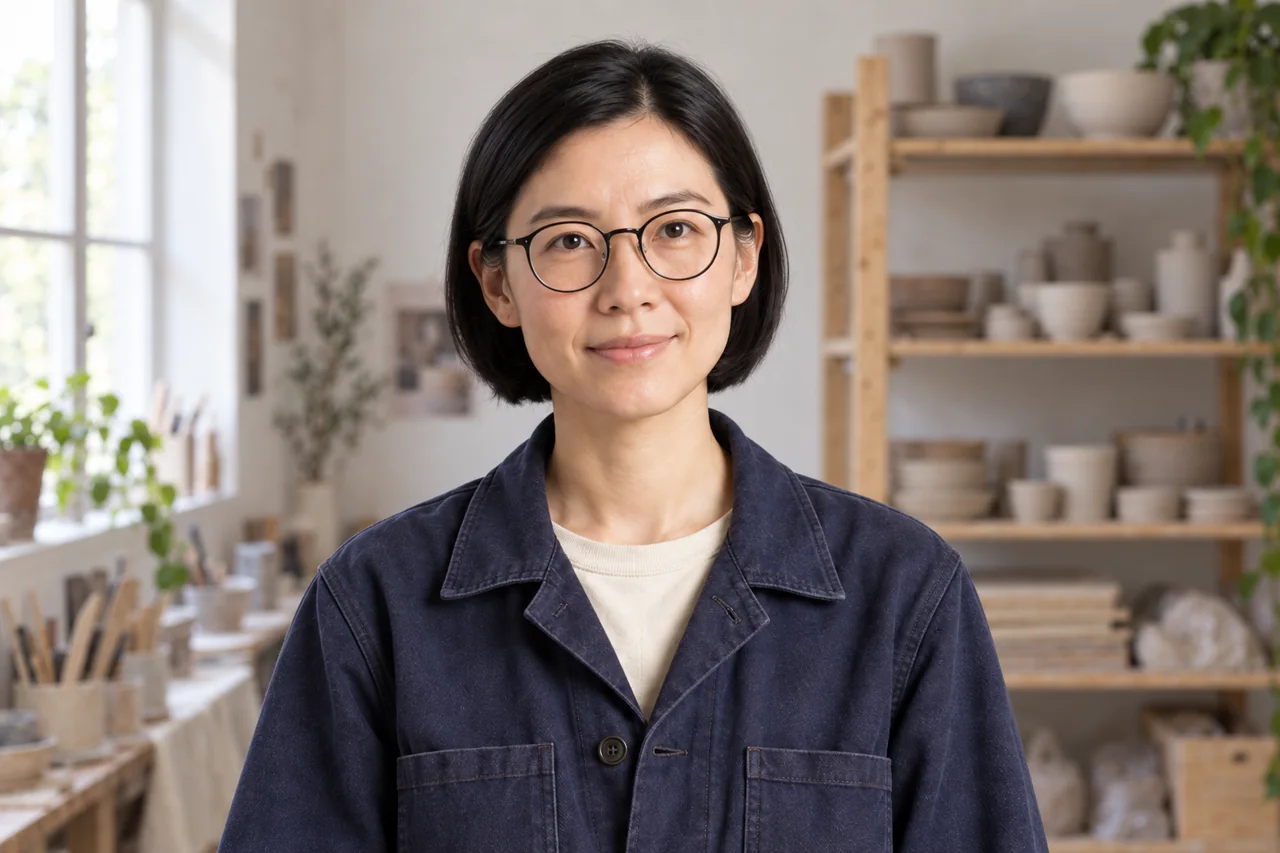
If the face drifts only near the end, trim before that point. If it drifts immediately, return to the approved still, keep the model fixed and reduce the movement. Remove the smile before changing the reference. Change one cause at a time so the next take tells you something.
Download approved takes and import them into your usual video editor. Put shots 1–3 in order, trim each to roughly four usable seconds and use straight cuts. Match exposure at the cuts before adding a colour treatment. Add workshop room tone you recorded or have permission to use. Export a 16:9 copy at the source frame rate and a resolution the footage can support, then watch the exported file once without pausing. For planning the action between cuts, continue with the three-shot storyboard exercise.
Questions that affect the next attempt
Will using the same seed keep the face identical?
Do not treat a seed as an identity reference. Seed availability and behaviour depend on the model; this workflow makes no cross-model seed promise. Keep the approved visual reference and compare the actual faces.
Must every shot use the same source image?
Every shot should derive from the same character master, but each video uses its own approved scene still. Animating one identical portrait three times gives three motions, not three deliberately composed shots.
Can the character turn all the way around?
That asks the model to show appearance hidden in the start image. First approve a matching side-view still and test a small turn. A full rotation is a separate, harder exercise.
Should I buy a plan before making the references?
Check whether your existing account includes the required image reference and start-image modes first. Budget for rejected takes as well as three usable clips. Compare access in the image and video tool finder without assuming that a listed model is included in every plan.
Sources
Official documentation checked September 9, 2026; OpenArt and Krea account availability and output quality have not been tested for this exercise.